

How to Make Almond Milk


Can you imagine giving up milk? Think about how many breakfast treats and dishes depend on it. For me, it's just not possible. Even during my PCOS journey, milk never seemed like something I needed to avoid, until my blood sugar spike results came in.
Talking about blood sugar spikes. I had no idea that regular milk could be part of the problem. I remember bringing it up with my doctor because I noticed huge spikes when I used my blood sugar monitor, and I was frustrated about the random spikes in my sugar levels. and she casually said,
“Well… lactose is a sugar.” I was like, “Wait, so should I cut out milk completely?”
She gave me a blank stare… and didn’t offer a way out.
No alternatives, no suggestions.
Since I use milk daily in cereal, baking, and smoothies, I knew I needed a new approach. I tried store-bought almond milk… and maybe I haven’t found the right brand yet, but it didn’t really hit the spot. (If you have any favorite store-bought brands, please send them my way!)
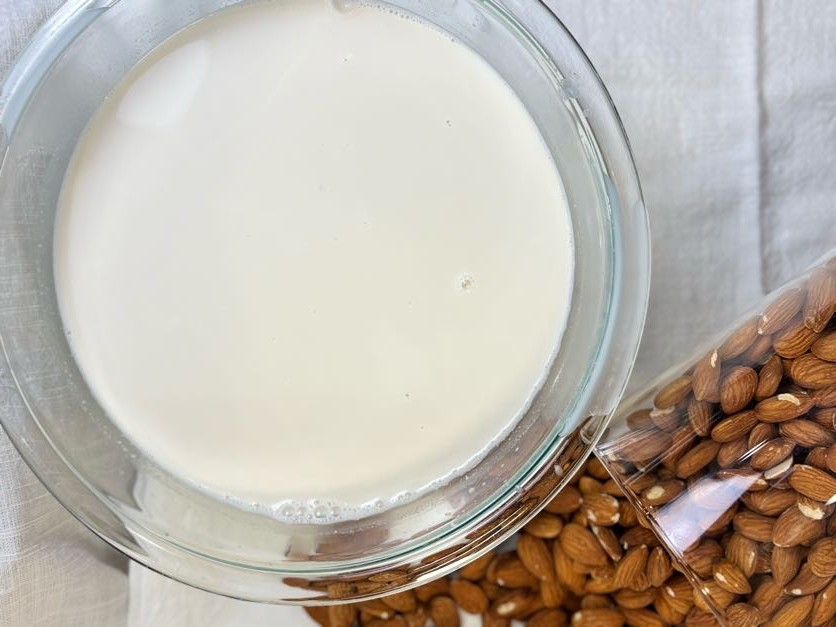
That’s why this homemade almond milk has become a staple in my house. It’s simple, blood sugar-friendly, and actually tastes good. Plus, I pasteurize mine so it lasts even longer in the fridge.
Sometimes, managing PCOS means experimenting to find what truly works for you. For me, homemade almond milk has been a small but meaningful win in my journey.
Nutritional Value (Total Value)
This is focused on educational and informative values of ingredients used in the recipe
- Total Calories - 1672kcal
- Carbs - 61g
- Fiber - 36g
- Protein - 61g
Disclaimer
PCOSgirlies is not a dietician. All recommendations are based on personal experience and estimated nutritional values.
Please consult with a healthcare professional for personalised advice.
Recipe Prep
15hrs 30mins
Cook Time
10 mins
Total Time
15hrs 40 mins
Recipe List
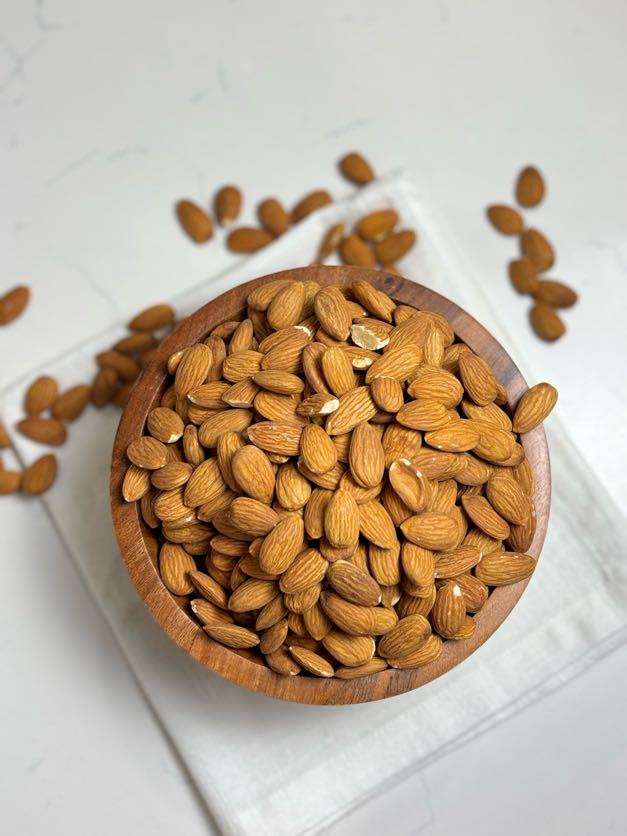
- 2 cups Almonds
- 1-2 Tbs Sweetener ( Monk fruit)
- ½ tsp Salt
- 4 cups Water
- Vanilla Flavoring ( optional)
HOW TO PREP
- Soak 2 cups of raw almonds overnight (or at least 8 hours).The almond should have doubled in size
- The next day, drain and rinse the soaked almonds.
- Blend the almonds using a high-speed blender with 4 cups of fresh water.
Note: I’ll be using a Nama juicer which separates the shaft automatically for a cleaner result.
- Add 1–2 tablespoons of monk-fruit to sweeten.
- (Optional) Add ½ teaspoon vanilla flavoring, depending on taste. Personally, I skip this step to keep the flavor clean and natural
- Add salt to taste
- Pasturize: If making in bulk (as I do), pour the almond milk into a pot and heat on low - medium for 5–10 minutes, stirring continuously. This helps it last 3–4 days longer.
- Even after using the juicer I like to strain the almond milk using a cheesecloth for extra smoothness. Some people don’t mind having almond bits in their milk, and that’s fine you can skip this step if that’s you.
- Let the almond milk cool completely.
- Pour into a clean jar or bottle and refrigerate.
Bonus Tips
Shelf life:
3–5 days if raw
8–10 days if pasteurized
Tips for the creamiest almond milk:
- Soak longer:
Soaking the almonds for 15–24 hours gives the milk a richer, creamier texture. (If soaking for more than 8 hours, keep the almonds in the fridge.)
- Use a balance of salt and sweetener:
A tiny pinch of salt + a little sweetener makes the flavor pop. The salt also helps extend the shelf life of the almond milk. Recently, I’ve been enjoying mine cold with just almond milk and ice, so refreshing.
- If you choose to heat (pasteurize) it:
Cook the almond milk on low to medium heat, stirring occasionally. This prevents burning or clumping and keeps the texture smooth and silky.
Tried Or Recreated This Recipe?
Tag our sister brand @sweetlybuttered on Instagram. Facebook, YouTube and TikTok and use the #PCOSgirlies so we can see your creations

- The Subtle Signs I Kept Ignoring
- The Doctor’s Visit That Changed Everything
- What I Know Now — And What I’d Tell My Younger Self
Related Articles
Homemade almond milk made with just almonds, water, and a touch of sweetener. A blood-sugar-friendly alternative to regular milk and perfect for smoothies, cereals, and daily PCOS-friendly cooking. Creamy, simple, and lasts even longer when pasteurized.

MD, US